Guest post by Stephani, from The Cheapskate Cook.
I was perfectly happy to keep using my basic whole wheat bread. Artisan bread was scary. It seemed more fussy, and after all, everyone knows whole wheat flour doesn’t work for everything. Sometimes you need to succumb to white flour counterparts… right?
That’s what I thought until I found this recipe. That’s what I thought until I used hard white wheat berries, and that’s what I thought until I bought a french bread pan.
These three elements (the last one not being as important) changed my view of homemade whole wheat artisan bread. I can do it now. And I do it a lot.
I know it’s not realistic to tell everyone to buy a french bread pan. I’m sure this recipe will work fine without it. But I like my pan, so that’s what I use. And since I make french all the time now, so I’m happy with one cluttering the drawer under my oven. If I only used once in awhile, I’d probably start to hate it. The choice is yours.
I can almost make my other favorite wheat bread recipe with my eyes shut. However, this new recipe is such a winner it’s worth a little fuss. A few reasons:
- It’s 100% whole grain (no halvsies on wheat flour and white needed here)
- It costs pennies per loaf
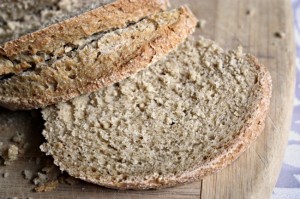
- Unlike classic homemade bread, this one won’t crumble during sandwich-eating (husbands who take sack lunches, rejoice!)
- Who doesn’t love a fresh crunchy-crusted loaf of bread?
- And it kinda makes you look like an awesome baker
Follow the recipe carefully, taking special note of my word about flour, and soon it’s possible this bread will be as easy as your old favorite recipe.
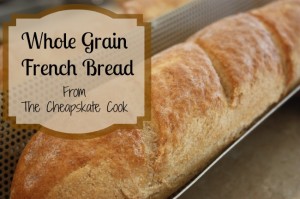
Whole Grain French Bread
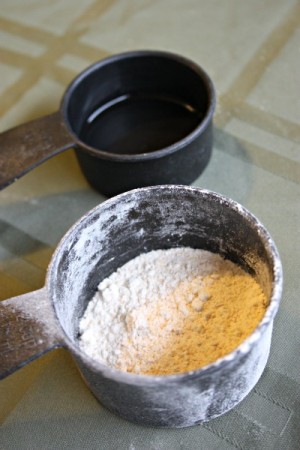
A note on the flour: I experimented with several kinds of wheat berries, and hard white wheat berries trump others in this recipe. Anything darker gives the bread too earthy a taste… seriously, it’s hard lump of brown bread. Hard white creates a soft inside and beautifully browned crust that’s much closer to its white flour counterpart (although not exactly because let’s be realistic here, we’re still talking about whole grain). Check your bulk grain sources for this variety.
If you don’t have hard wheat, consider using only 2 cups of freshly ground flour and 3-4 cups unbleached white flour.
Adapted slightly from Williams-Sonoma.
Ingredients:
- 2 cups warm water
- 1 teaspoon honey or sugar
- 3 1/4 teaspoons (or one packet) active dry yeast
- 2 1/2 teaspoons salt
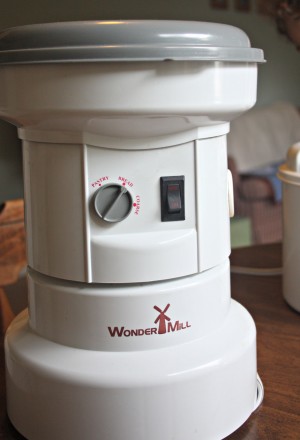
- 5-7 cups freshly ground hard white wheat flour
- 1 egg white, beaten
Directions:
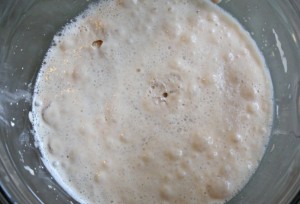
Combine water, honey and yeast in a small bowl and allow them to sit 5-10 minutes, until surface of the liquid is foamy.
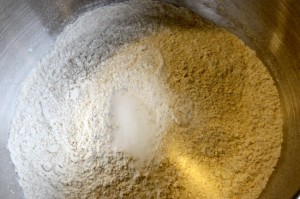
In a large bowl, combine salt and 4 cups of flour.
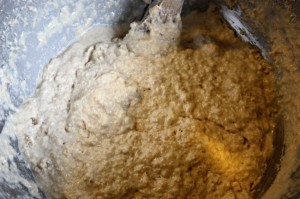
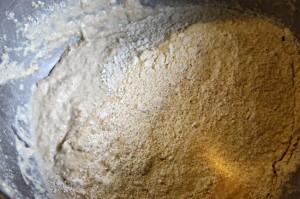
Slowly add the yeast mixture to the dry ingredients, stirring until it is completely incorporated. Add more flour, 1/4-1/2 cup at time, until the dough is too stiff to stir.
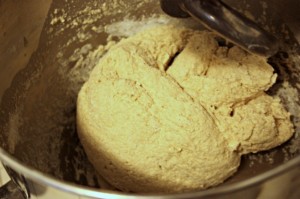
A heavy duty mixer with a dough hook makes quick (and easy) work of kneading the dough. I didn’t know how much I enjoyed bread baking until I had a machine to, you know, do all the hard work for me.
Whether you’re using a machine or muscly arms, knead the dough for about 10 minutes, until the dough is smooth and elastic (and if it’s in a mixer, pulls away from the sides of the bowl).
If you add too much flour and the dough becomes stiff, simply add water a tablespoon at a time, kneading throughly, until it becomes elastic again. Do the same if it’s too sticky, but add flour.
Remove bowl from mixer, – or place dough back in the bowl – cover it with a towel, and allow it to rise for 45-60 minutes in a warm place (I use the top of my refrigerator).
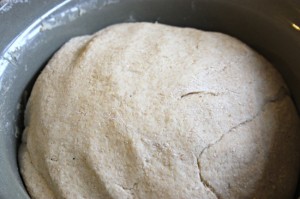
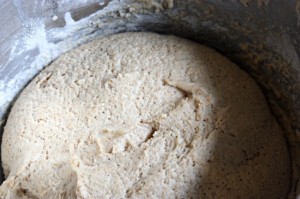
Gently scoop the dough out of the bowl. It will probably stick to the bowl, but simply swipe your fingers along the surface of the bowl to unstick it. Knead it for a minute or so then shape it into a ball, put it back in the bowl, cover, and let it rise 20-30 minutes.
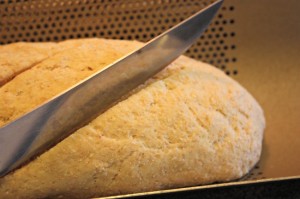
Left photo: Dough ready to rise Right Photo: Dough risen
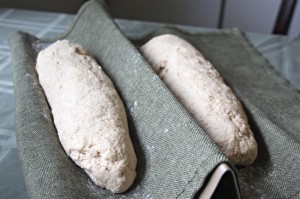
Remove the dough the same way, Cut it into two pieces then let them sit for five minutes. spread each piece into a rectangular shape, then fold it in thirds and taper the ends,, making a long french-bread-loaf-shape.
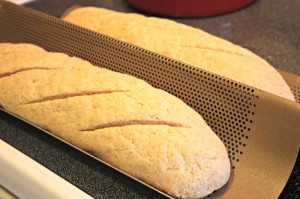
Place the loaves seam side down on a greased cookie sheet and cover with a towel. If you have a french loaf pan, drape the towel over the pan, sprinkle it with flour, and place the loaves on it instead. Cover them with the excess towel draping off the pan. Allow bread to rise another 20-30 minutes.
Meanwhile, turn the oven to 425 degrees Fahrenheit. Fill a glass 9×13 pan (I’ve used smaller) with boiling water and carefully slide it on the bottom rack. The goal is to let the hot water fill the oven with steam. The steam is responsible for creating the signature crust on artisan bread.
If using a french loaf pan, carefully slide the towel and loaves off of the pan. Lightly grease the pan then slide or lift the loaves off the towel and onto the pan. If using a cookie sheet, just leave them there and continue with these directions: Use a bread knife to very gently make 3-5 diagonal cuts across the top of the loaves, about 1/4-inch deep. Don’t press the knife down into the risen dough. Instead let the knife the cut the dough on its own.
Place the egg white in a small bowl, add a pinch of salt and beat them together. Reserve egg yolk for another recipe. Gently brush the egg white across the top of the loaves. This step is optional, but it takes the texture of the crust up a notch.
Pop the loaves into the oven (open it carefully so you don’t get hit with the hot steam) and let it bake 30-35 minutes, until crust is golden brown and bread sounds hollow when you tap it with your knuckles.
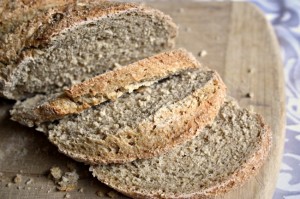
To preserve the texture, let the bread cool completely on a wire rack before cutting into it.
Use for sandwich bread, toast, garlic bread, french toast casserole, or bruschetta. Or enjoy it straight up plain, like we do.
What about you? Have you ever tried homemade artisan bread?





14 Responses to Whole Grain French Bread