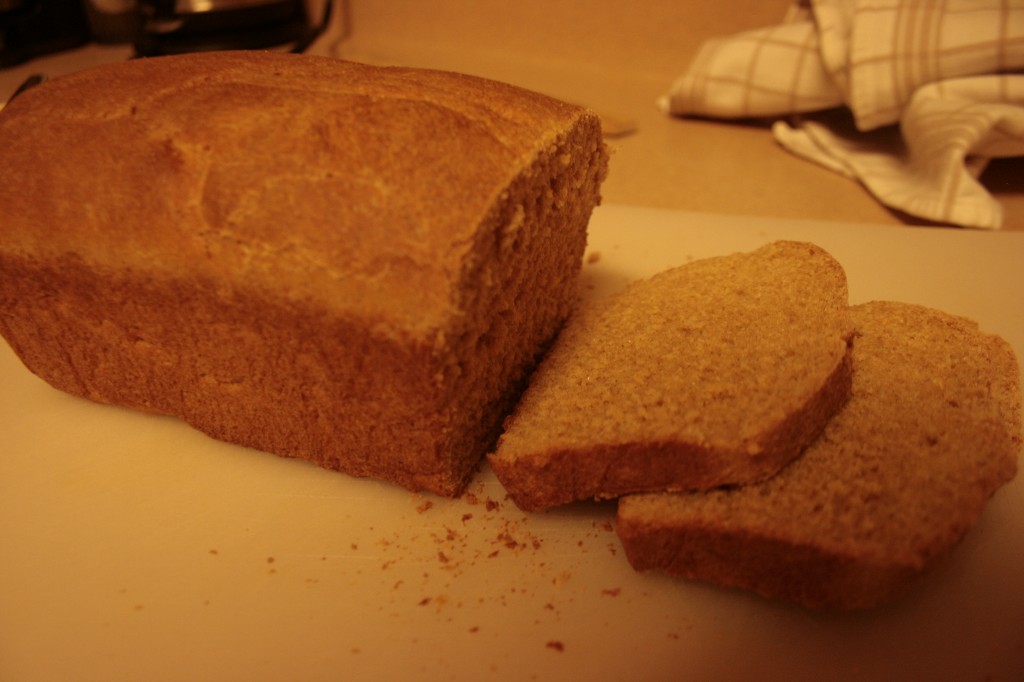
Before I started milling my own flour I would bake my own bread. So when I decided I wanted to start milling my own flour, I knew I would probably bake bread often. I liked the idea of making bread that actually has some nutritional value.
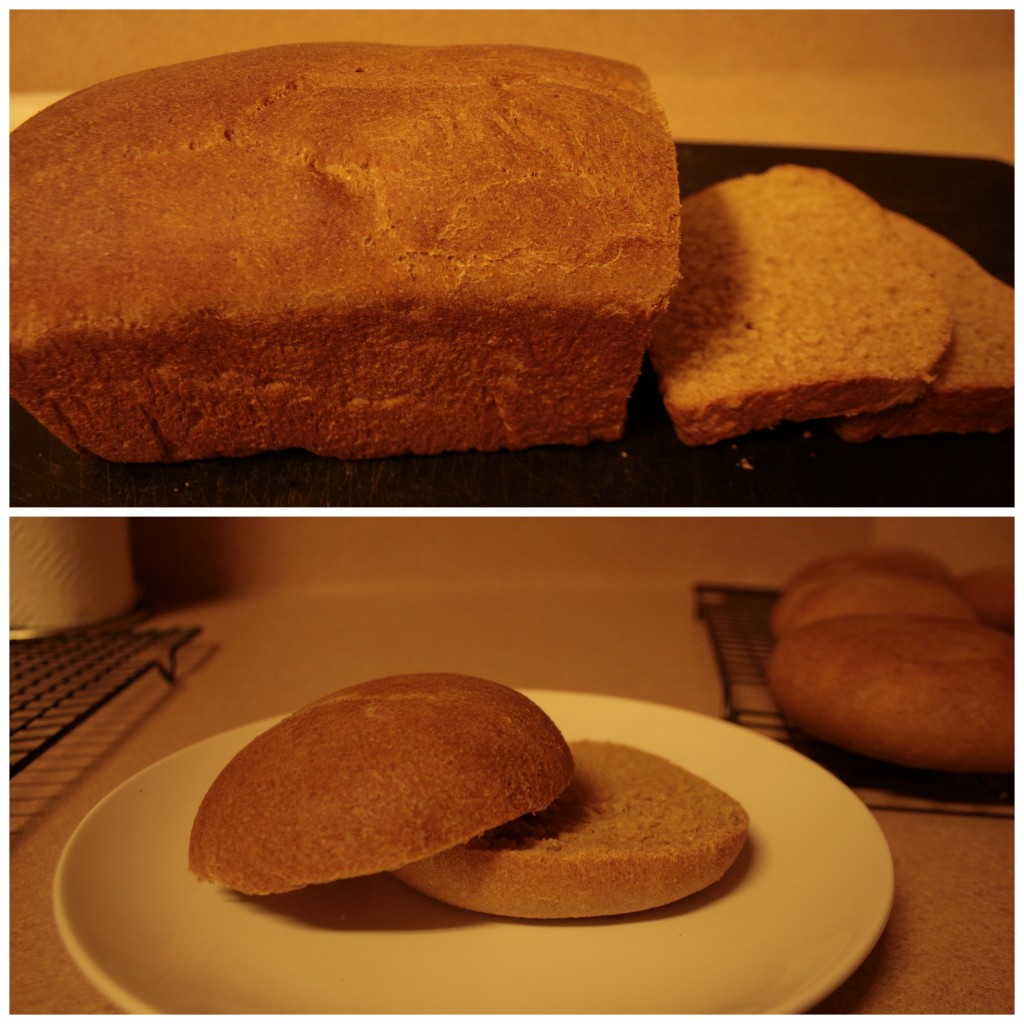
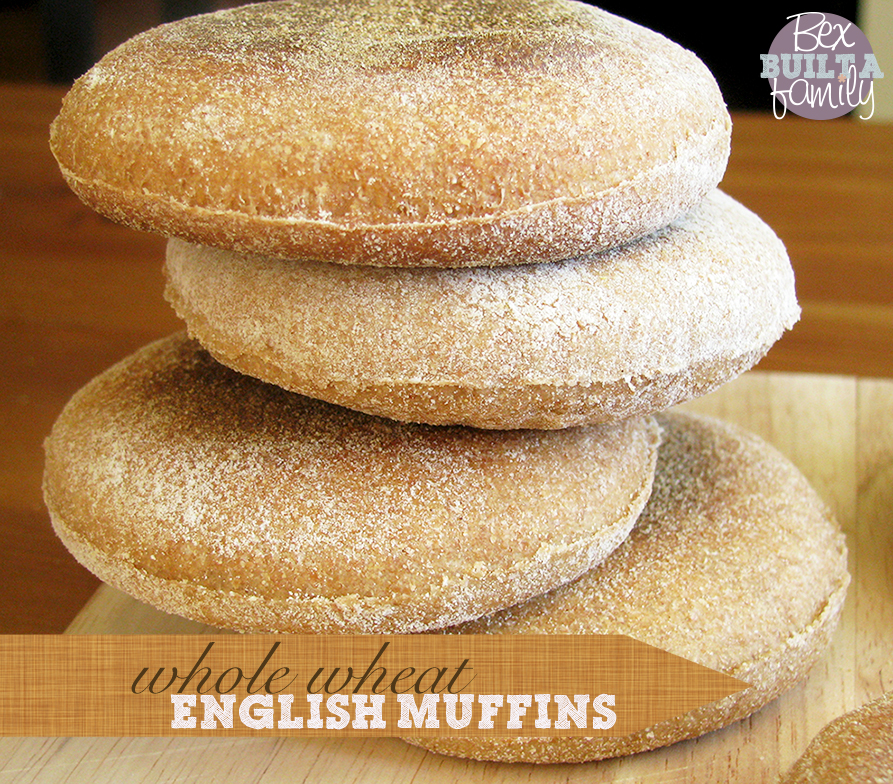
This recipe is great not only for baking sandwich bread, but I also use it to bake hamburger buns.
100% Whole Wheat Bread
Modified original recipe from King Arthur Flour
Ingredients:
3 ½ cups whole wheat flour (about 2 cups hard white wheat berries)
1/4 cup dry milk
1 packet active dry yeast (2 ½ tsp instant yeast)
1/8 cup molasses (or honey)
4 Tbsp applesauce
1 ¼ tsp salt
1 tsp diastatic malt
1 ¼ cups lukewarm water
This recipe yields one loaf. I often double the recipe and make two loaves so I don’t have to bake every week or I make one loaf and some hamburger buns.
Directions:
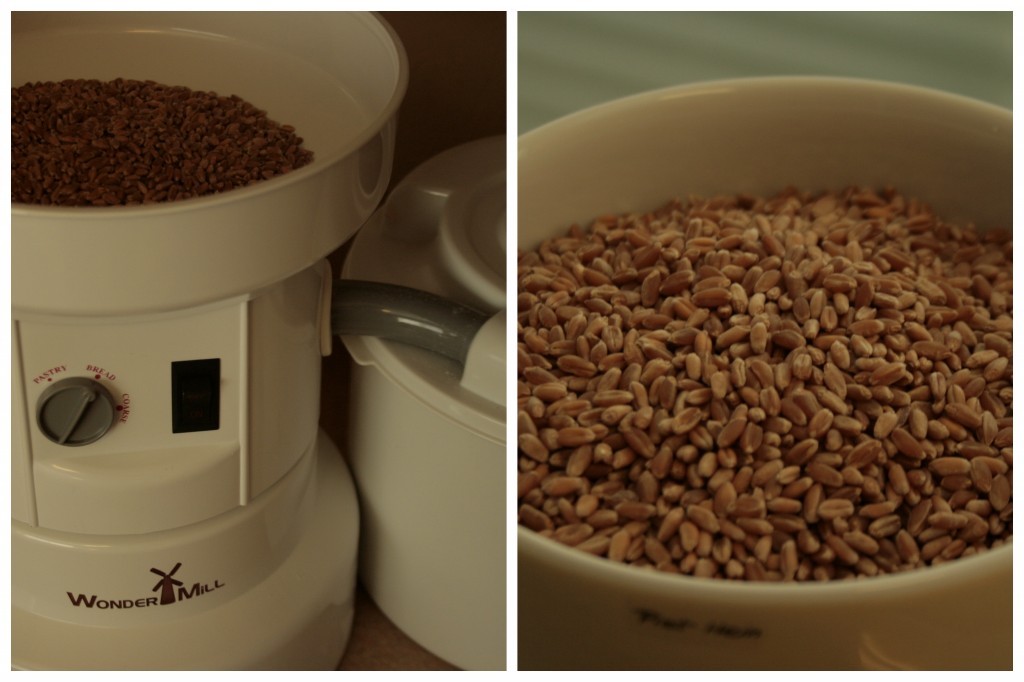
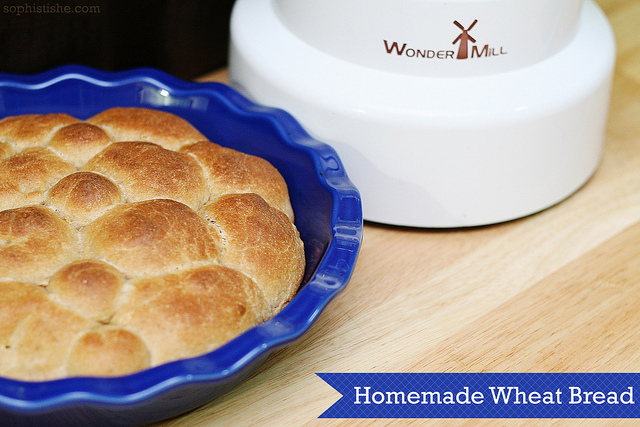
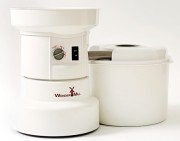
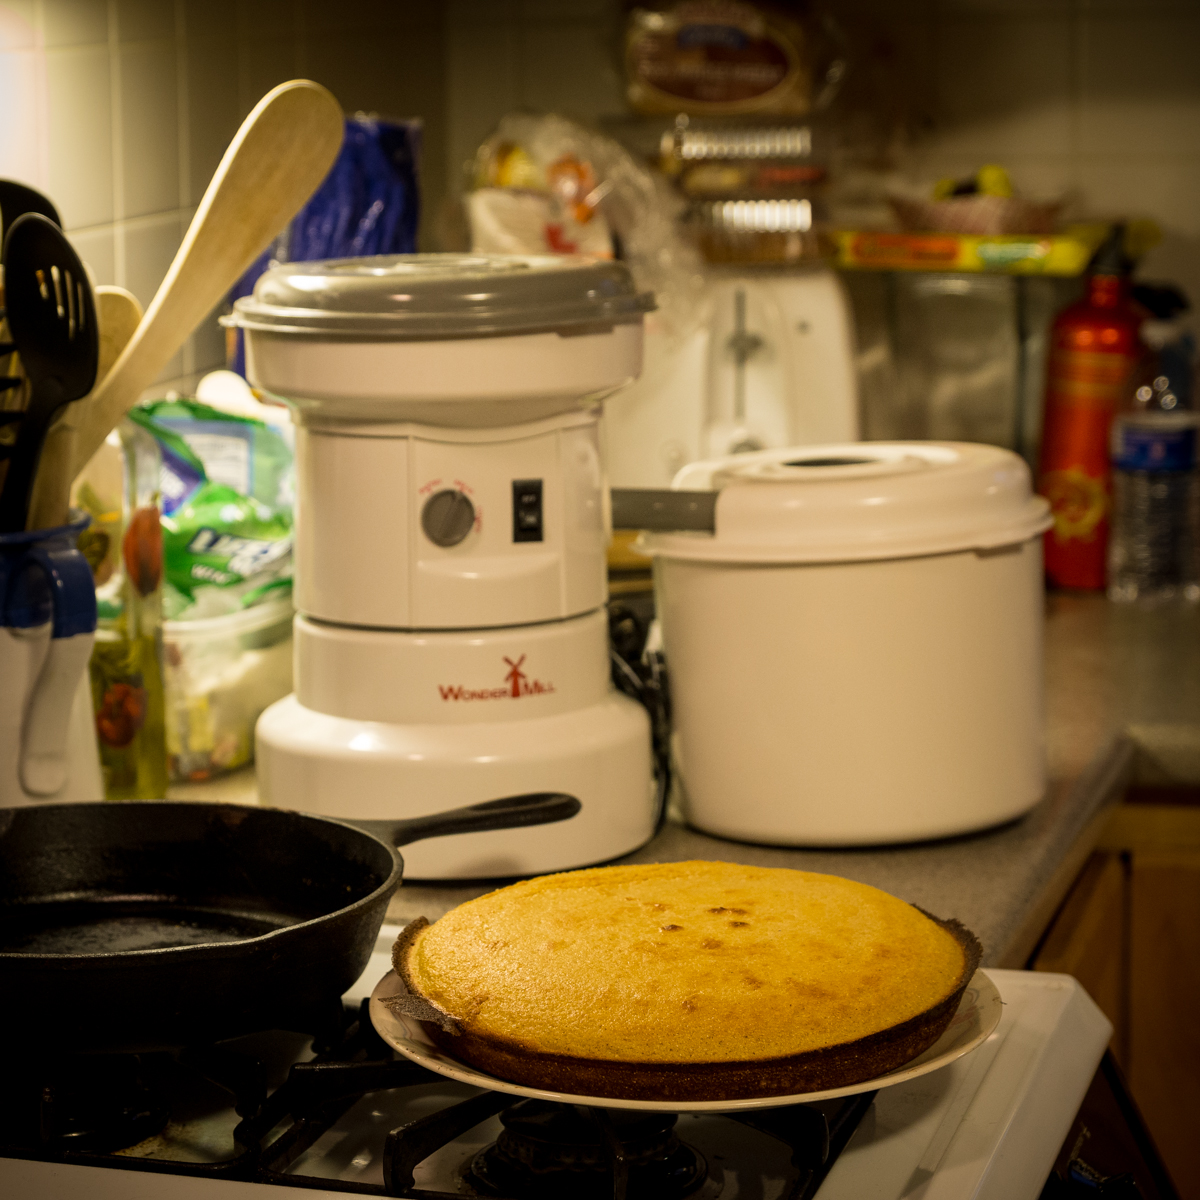
Grind about 2 cups of hard white wheat berries. This should yield around 3 ½ cups of whole wheat flour. I of course use my WonderMill.
In a glass or small bowl mix yeast with 2 Tbsp lukewarm water and add a little molasses or honey to feed/activate the yeast. Let it sit and work while adding the other ingredients together.
Mix 2 cups of freshly ground whole wheat flour together with the dry milk. The rest of the flour will be added later.
Then add the apple sauce, molasses, salt and malt. To read my blog post about how to make diastatic malt please go here. Malt can help the bread rise, give a great texture and brown the crust.
Add the proofed yeast to the mixture.
Use the same container the yeast was mixed in to collect the water needed for the recipe. This trick will help include the remaining yeast left on the sides of the container. Add the water to the mixture.
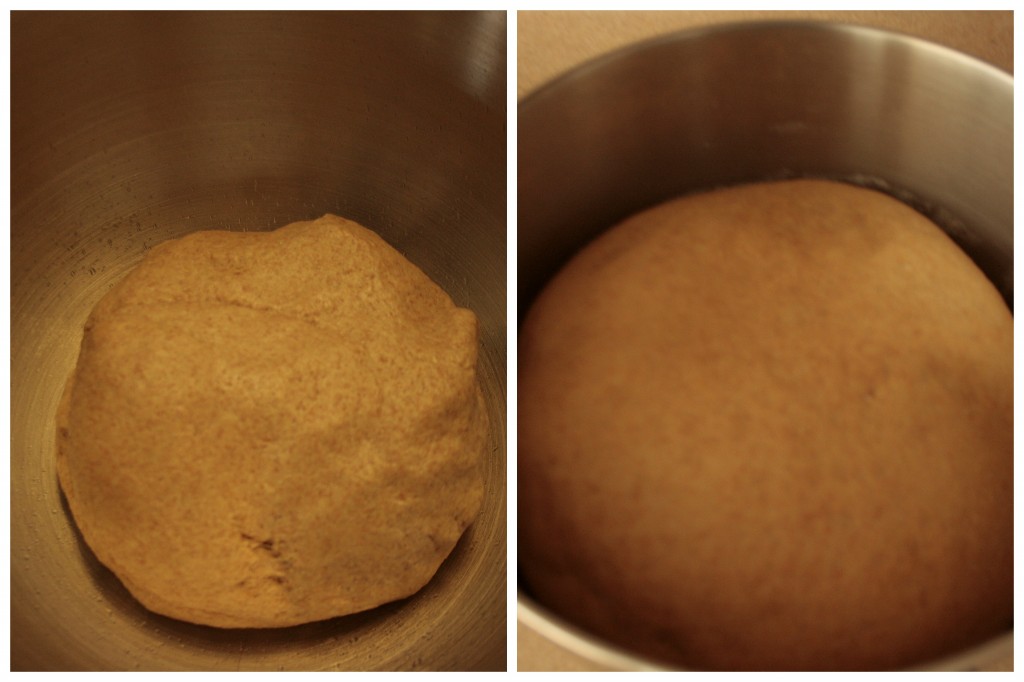
Mix all the ingredients together. I use my KitchenAid stand mixer. Once all the ingredients are in the mixer I mix them together using the dough hook on setting 2. Slowly add the remaining flour if needed until the dough gets the right consistency. You want the dough to be wet, but at the same time you want to use enough flour to allow the dough to come together. Let the mixer mix for about 8 minutes.
Transfer the dough to a lightly greased bowl and cover it. Let it rise until it is puffy but no more than doubled in bulk. For me that is about 1 hour – but don’t let it rise for more than 2 hours.
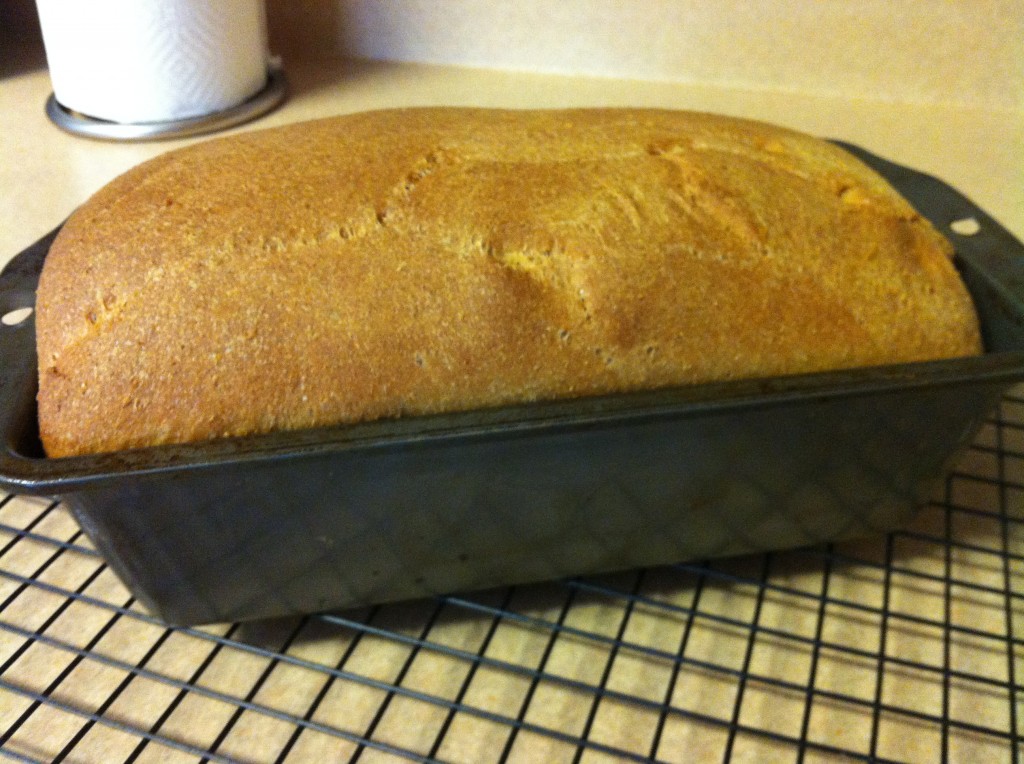
Transfer the dough to a lightly greased surface and shape it into an 8” log. Place the log in a lightly greased 8 ½x4 ½ “ loaf pan. Cover the pan and allow the bread to rise until the center has crowned about one inch above the rim of the pan. It usually takes me about 30-45 minutes – but don’t let it rise more than 2 hours.
Towards the end of the rising time, pre-heat the oven to 350F.
Once the oven is pre-heated and the bread is done rising, bake the bread for about 30 minutes. The finished loaf should be about 190F inside.
When it is done remove the bread from the pan and let it cool on a rack.
Enjoy! This bread is moist and delicious AND nutritious.


